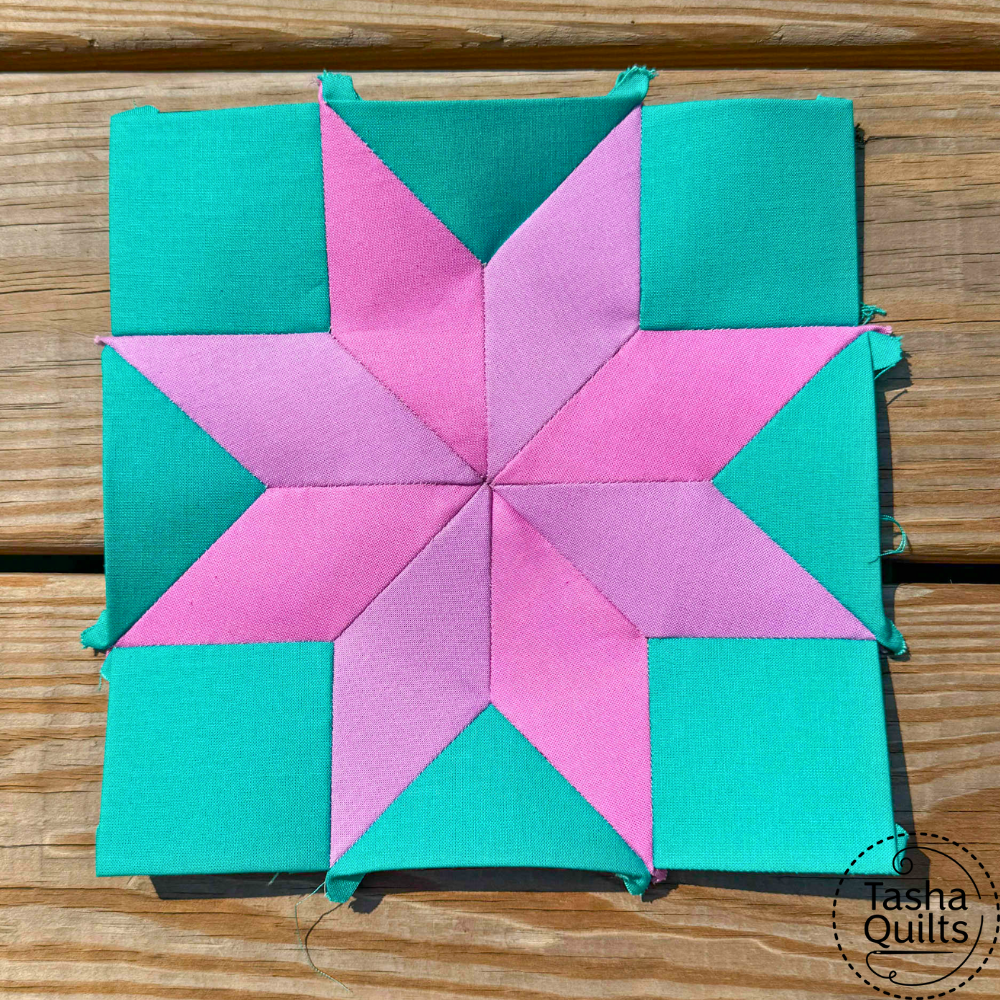
How to Turn a Mini Quilt into an Envelope Pillow (No Binding)
This is the first technique in my Mini Quilt Madness finishing series because it is my favorite method. I have used this in a pinch for a last-minute gift idea or for a mini quilt that I love but am not sure what to do with. I have a stash of pillow forms in my sewing room closet so I’m ready for that last minute gift or decor idea at any given time! I also love this method because it cuts out the binding, making it quicker!
Supplies You’ll Need
Here is what you need to be ready to go for this quick and easy finish!
Project
- Mini quilt (quilted, trimmed, no binding)
- Note, the backing fabric of the mini quilt does not matter, it will not be seen from the outside. Great way to use up some fabric you might not love anymore!
- Coordinating fabrics for the back of the pillow
- Pillow form (same size as your finished mini quilt)
Standard Sewing Supplies (including)
- Rotary Cutter & Scissors
- Quilting Rulers
- Cutting Mat
- Iron & Pressing Surface
- Sewing Machine
- Coordinating Threads
- Wonder clips or pins
Reference
Download the Arkansas Traveler mini-quilt pattern and get the no-binding pillow math cheat sheet as well (last page of PDF)!
Step-by-Step Envelope Pillow Tutorial
Step 1: Measure Your Mini Quilt
Measure your mini quilt after quilting and trimming, but before adding the binding.
Use the finished size of your mini quilt to calculate the backing pieces
Example
My quilted and trimmed mini quilt (before binding) measures:
18½” × 18½”
Step 2: Calculate the Backing Pieces
Each backing piece is cut to:
- The same width as your unfinished mini quilt
- Half the finished height, plus 4″
Example
Unfinished mini quilt:
18½” × 18½”
Backing piece width:
18½”
Backing piece height:
18½” ÷ 2 = 9¼”
9¼” + 4 = 13¼”
Cut two backing pieces measuring 18½” × 13¼”.
Step 3: Hem the Back Pieces
To create the envelope opening, each backing piece needs a finished hem along one long edge.
Fold the long edge over ¼” toward the wrong side of the fabric and press. Fold it over another ¼”, press again, and stitch close to the folded edge to secure the hem.
Repeat this process for the second backing piece.
Once complete, each backing piece will have one neatly finished edge that will overlap to form the envelope opening on the back of the pillow.
Step 4: Assemble the Pillow
Place your quilted and trimmed mini quilt right side up on your work surface.
Position one backing piece right side down on top of the mini quilt, aligning the raw edges. The hemmed edge should be toward the center of the pillow.
Place the second backing piece right side down, overlapping the first backing piece by approximately 6 inches. Again, the hemmed edge should face the center.
Clip or pin all layers together.
Using a ¼” seam allowance, sew around all four sides of the pillow cover.
Trim the corners to reduce bulk, being careful not to cut through the stitching.
Turn the pillow cover right side out through the envelope opening. Use a point turner or blunt tool to gently push out the corners, then press if desired.
Insert the pillow form through the envelope opening and enjoy your finished mini quilt pillow!